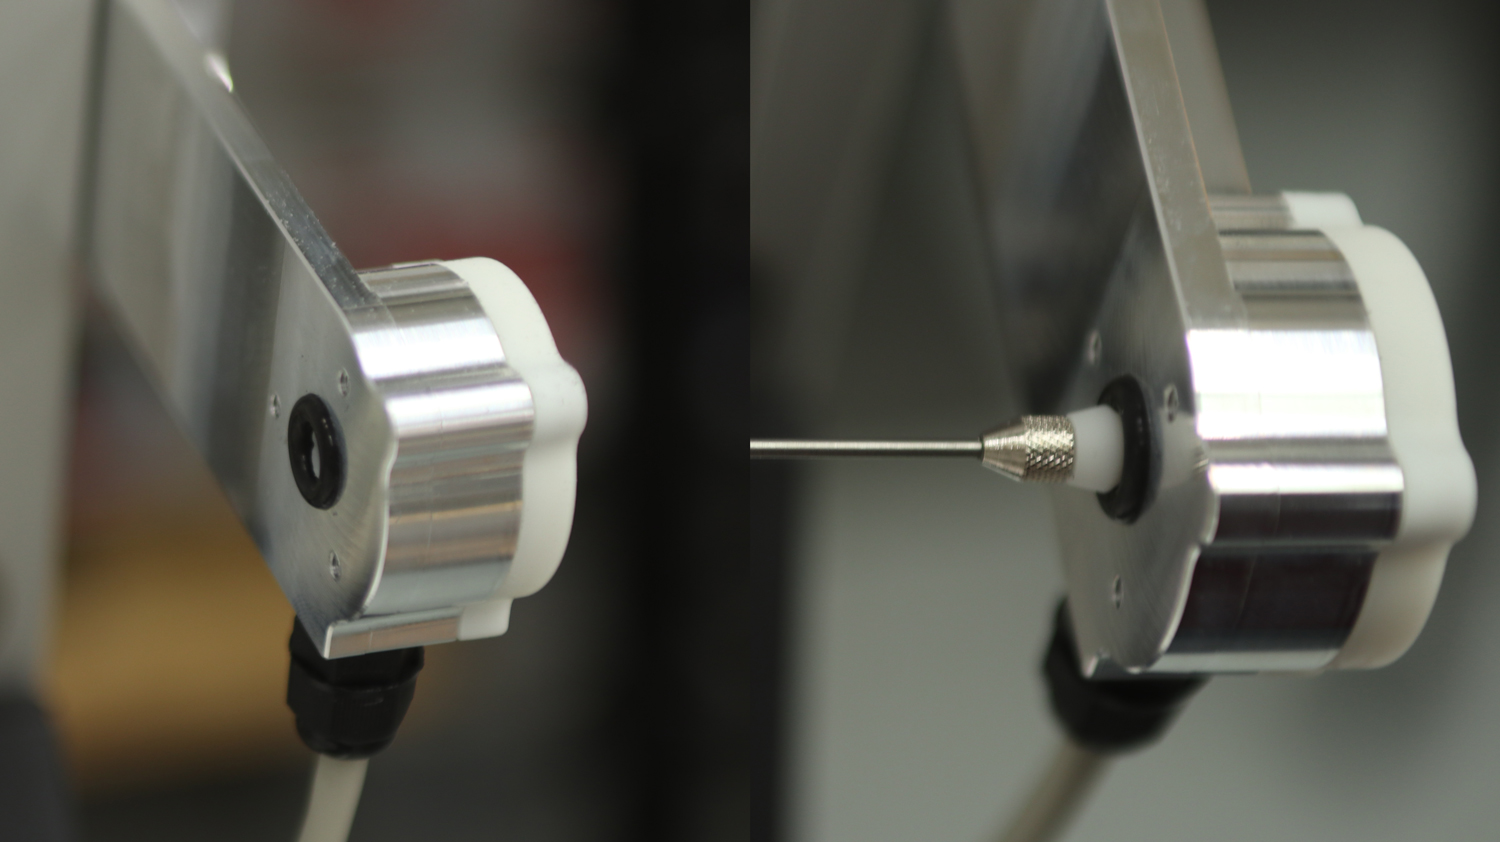
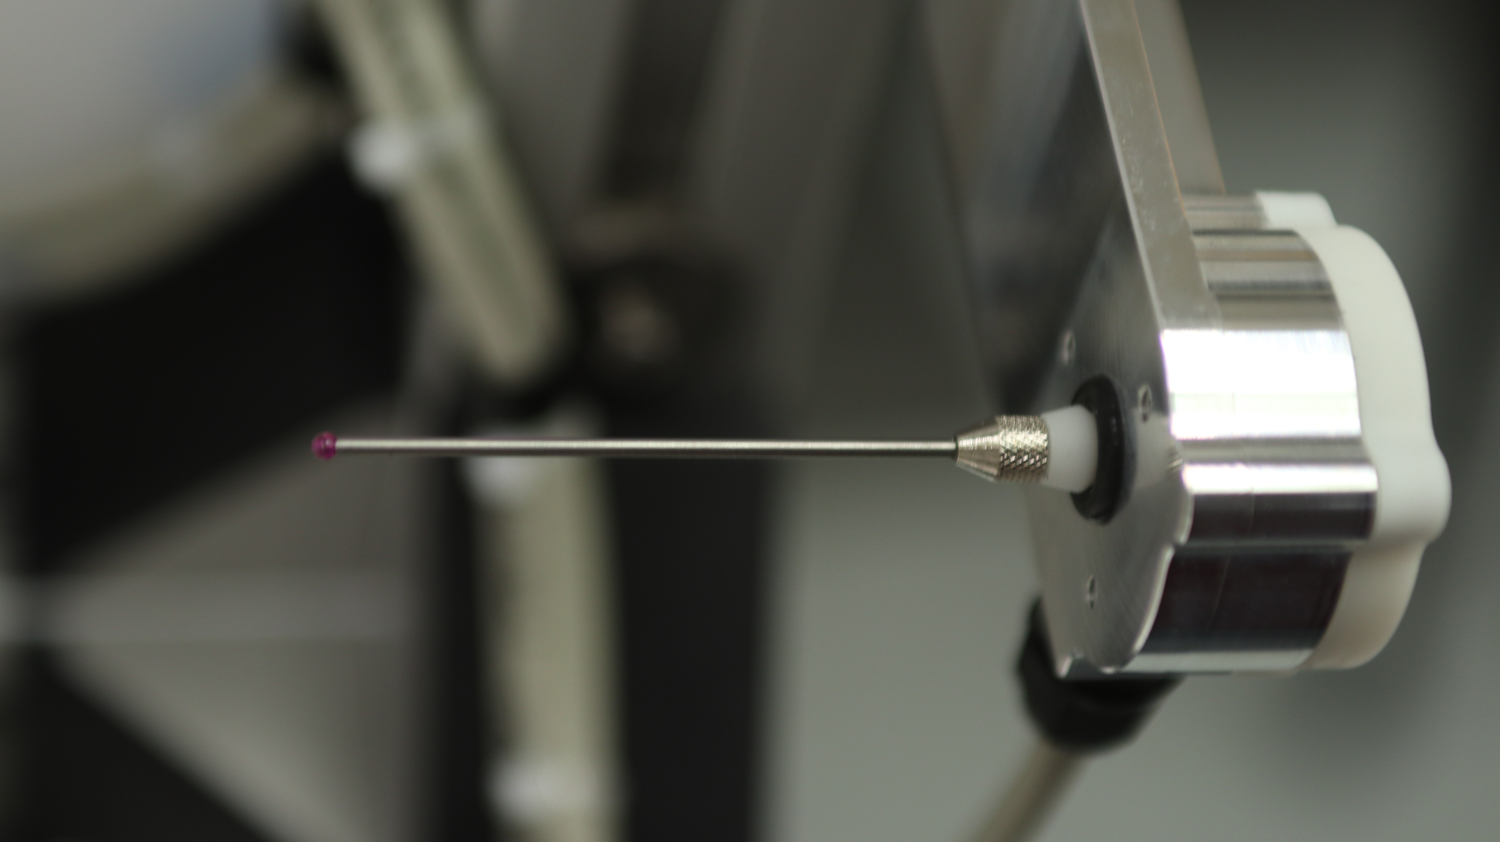
If you have broken the probe (image below left) please follow step-by-step disassembly and replacement of broken part, the fixed probe would look as per image below on the right.
|
DANGER! Make sure to switch machine power off first! |
Begin by untying M3 bolts (use 3mm Hex Key)
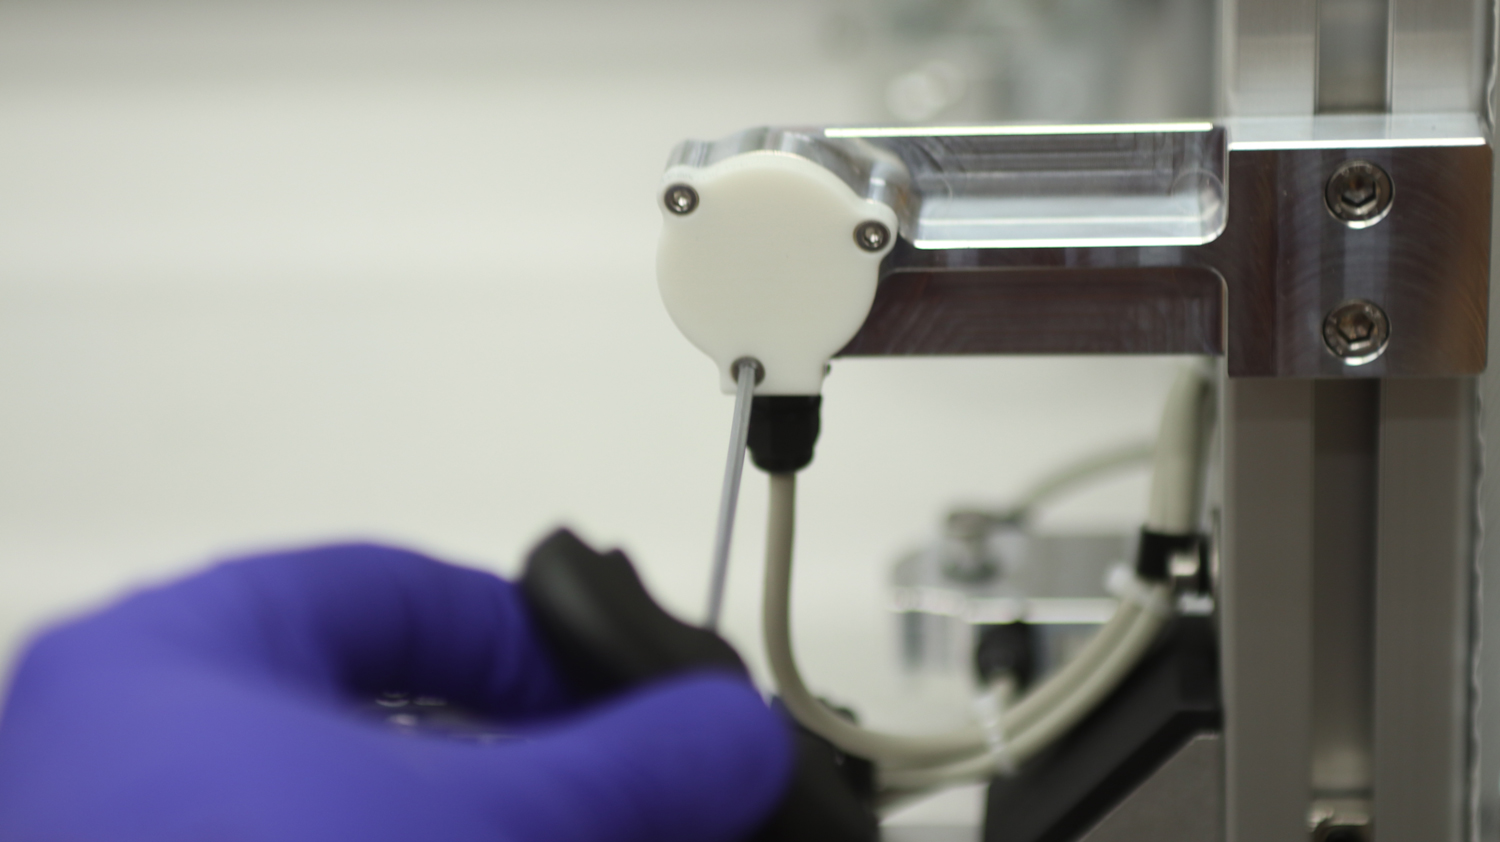
Remove the back plate
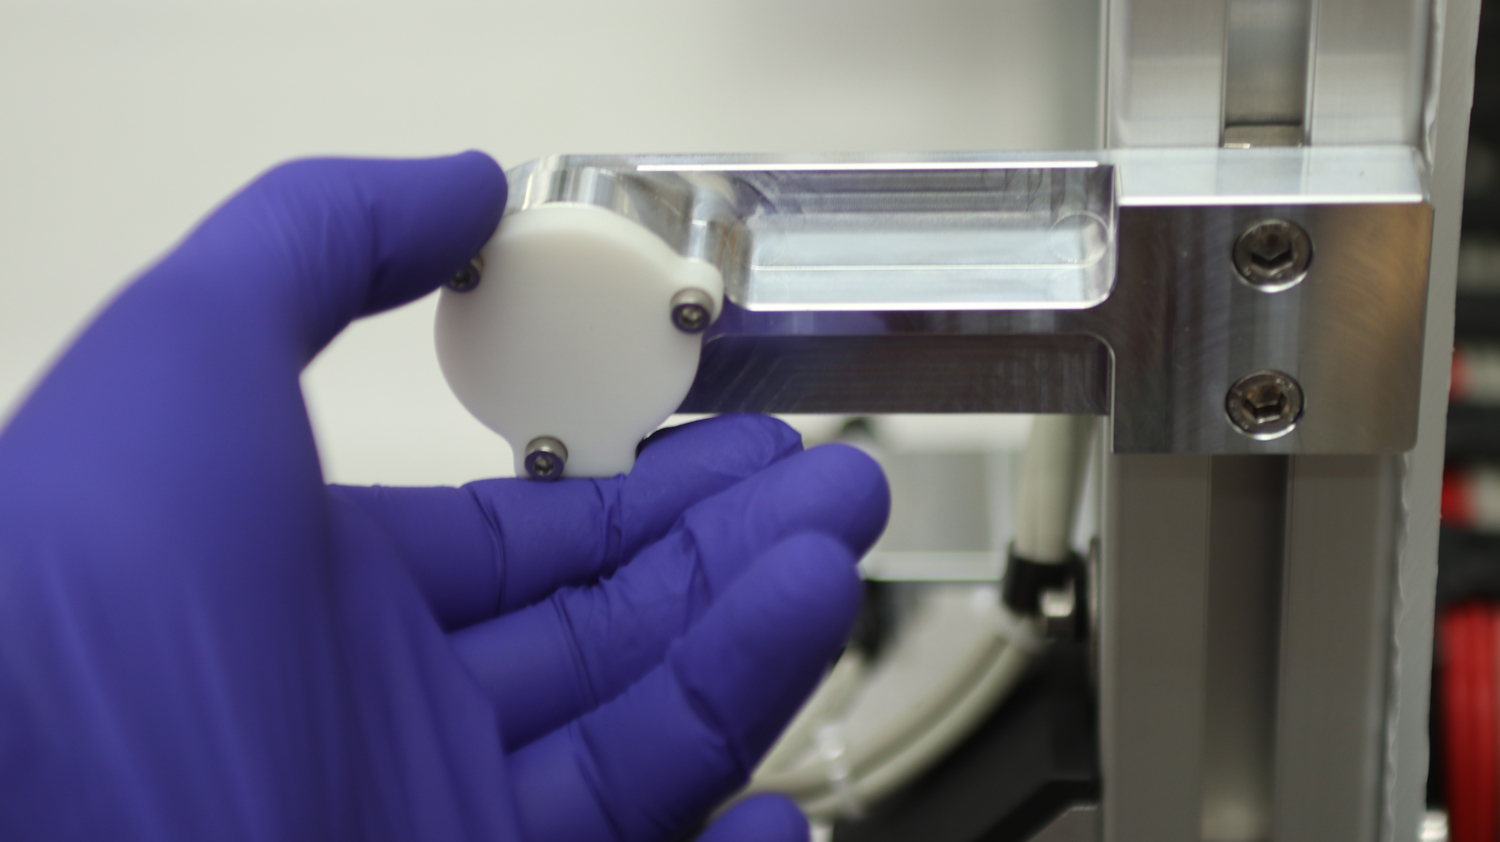
Make sure not to lose any components
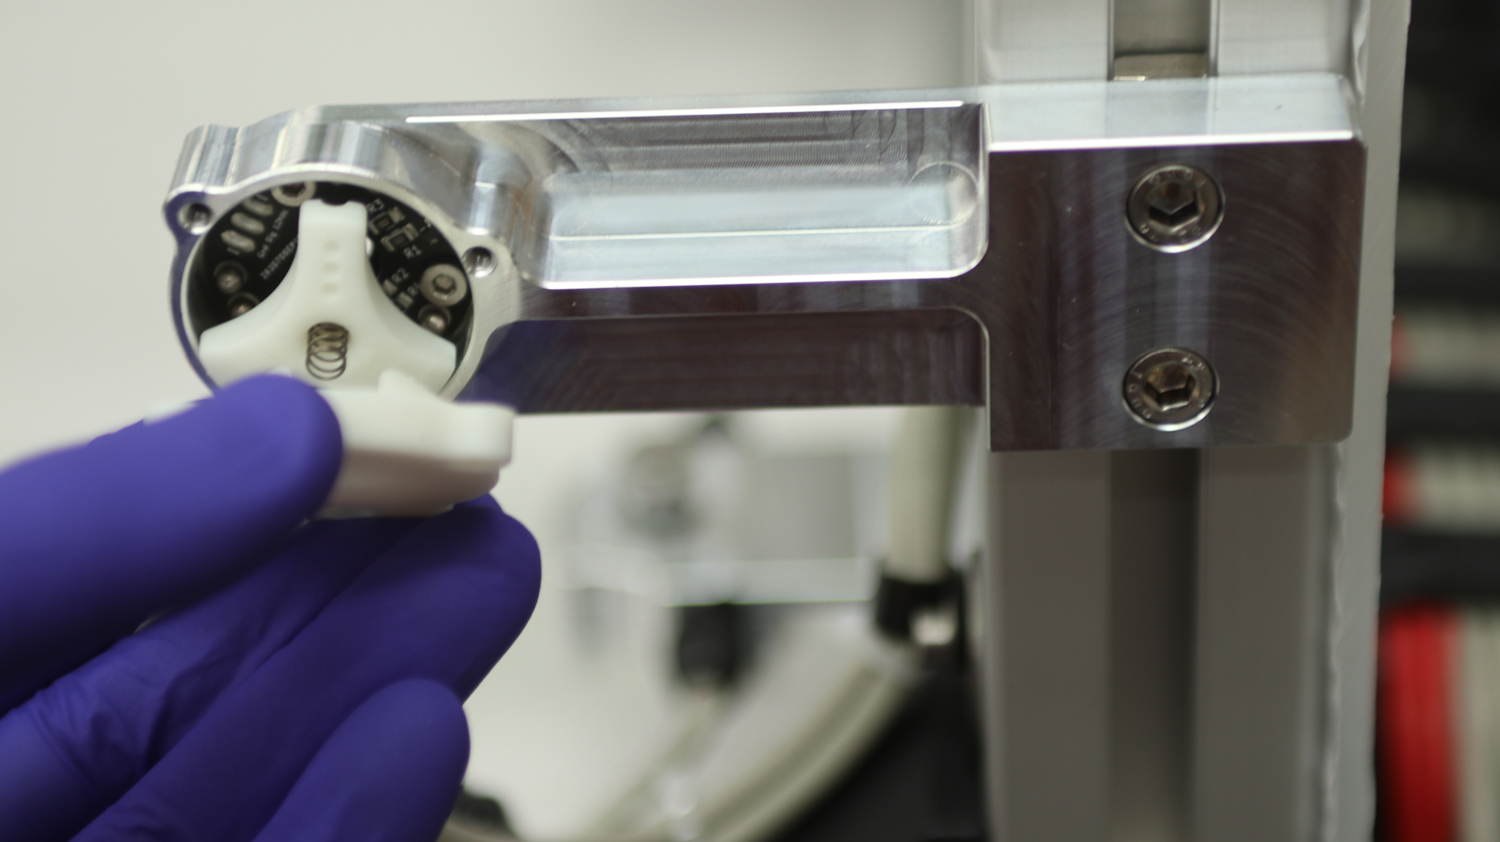
Gently remove the spring
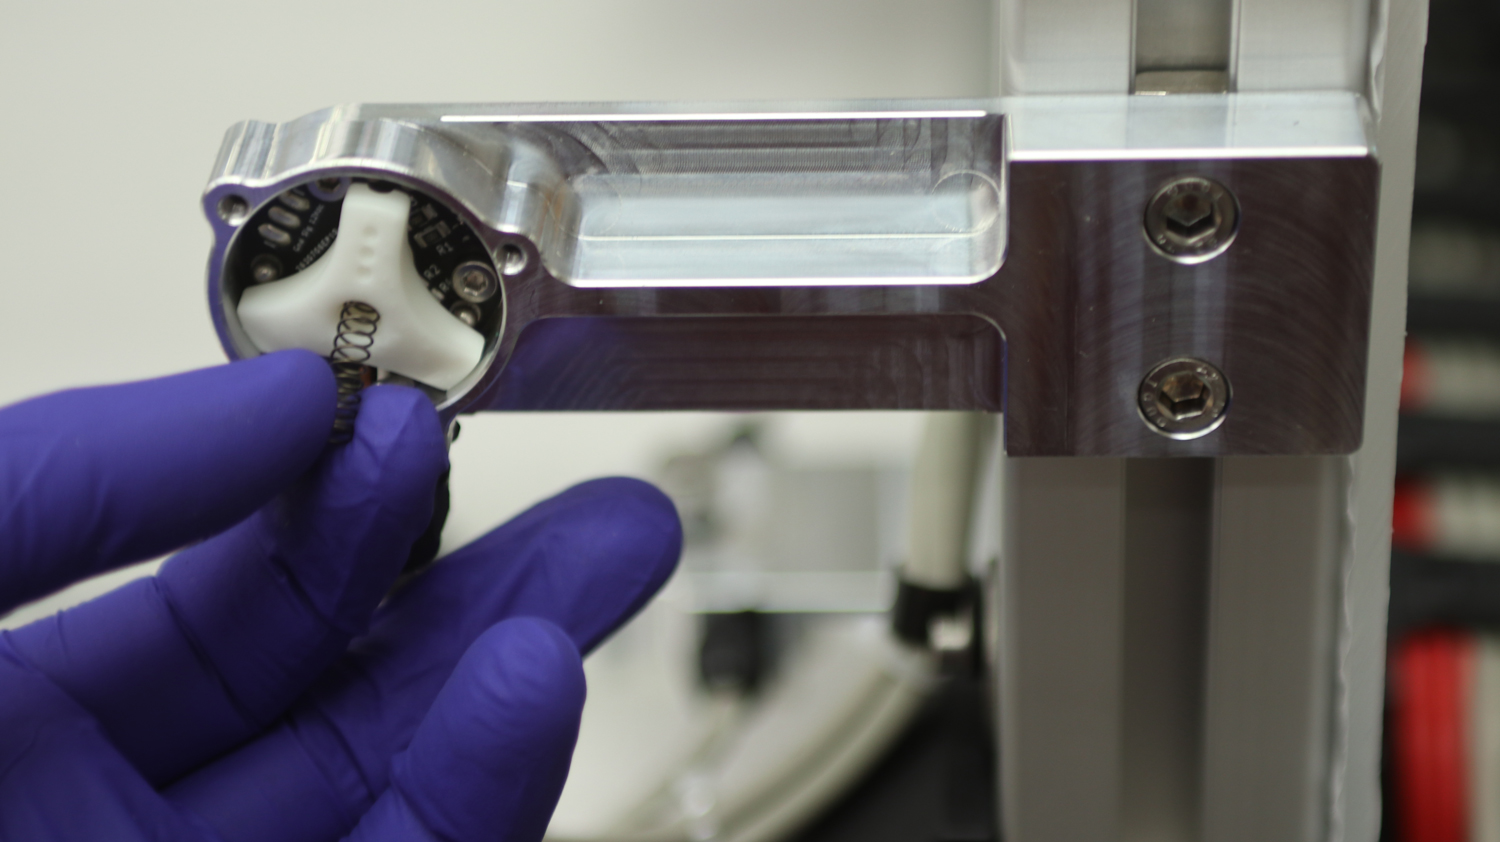
Remove part that needs to be replaced
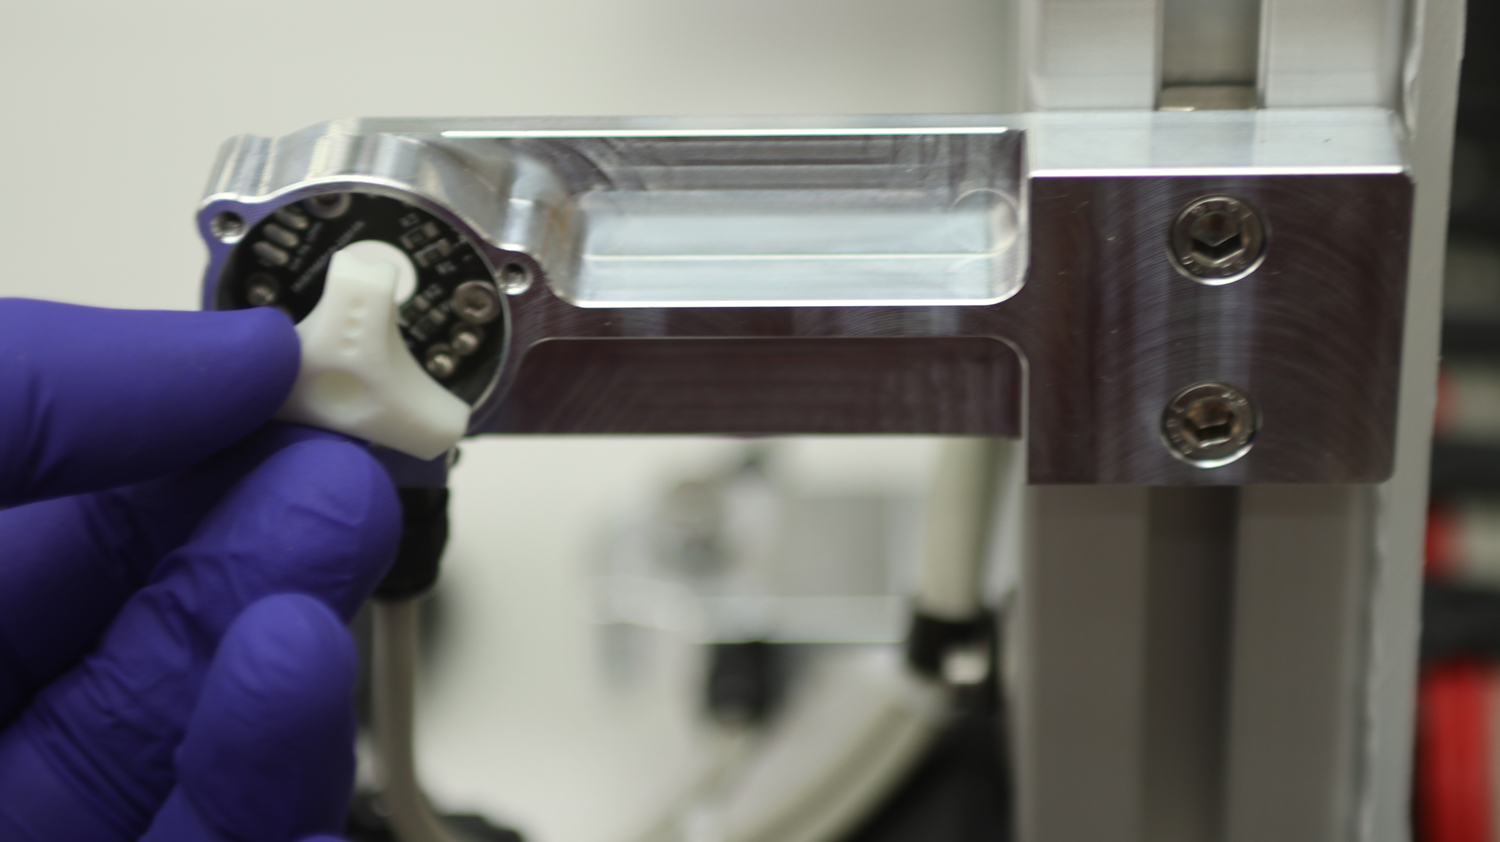
Part that needs replacement has been removed
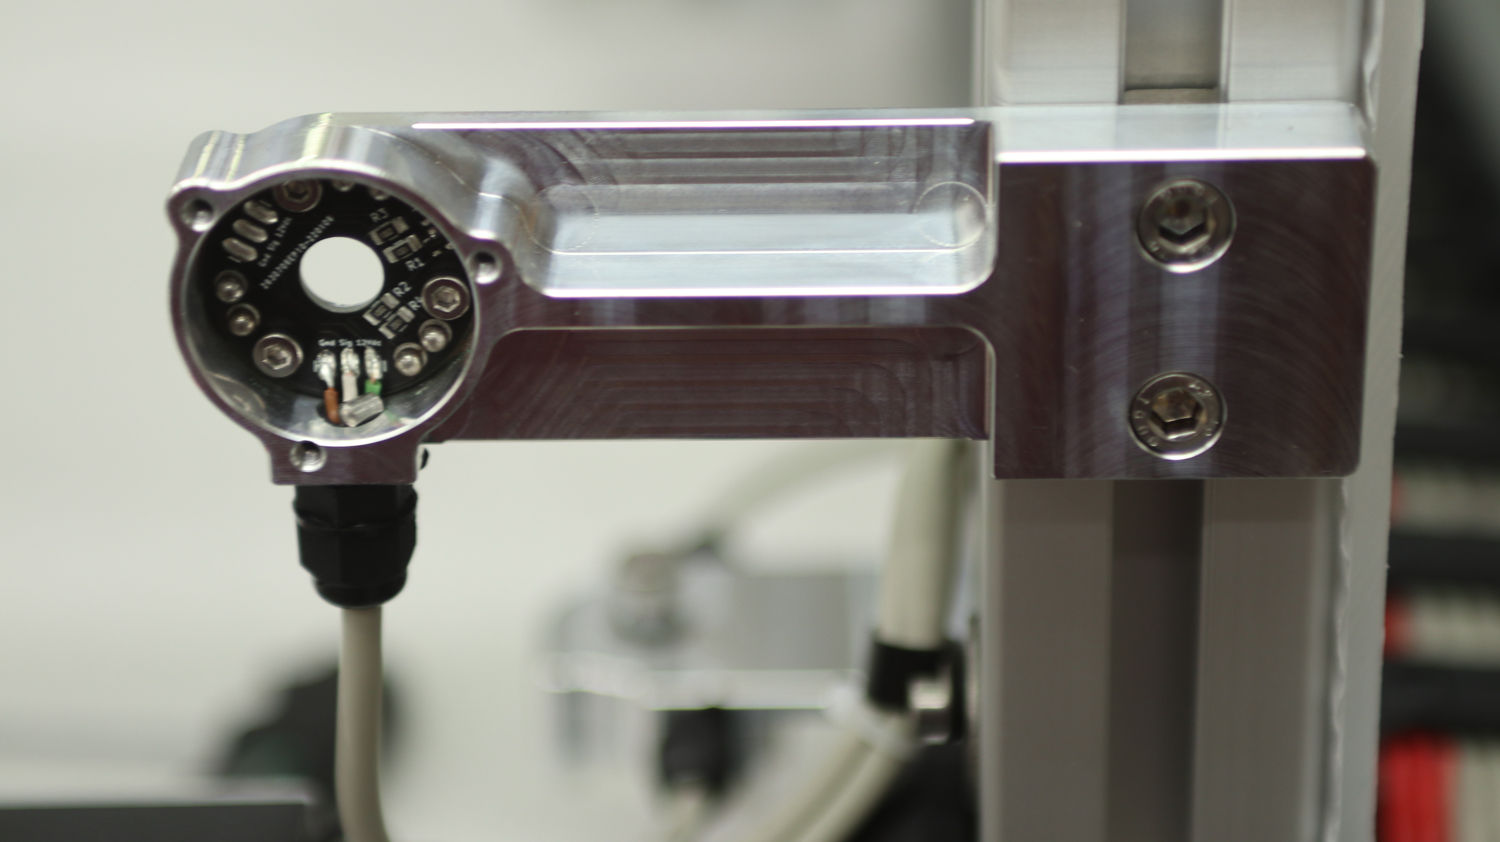
Replace the broken part with a new one
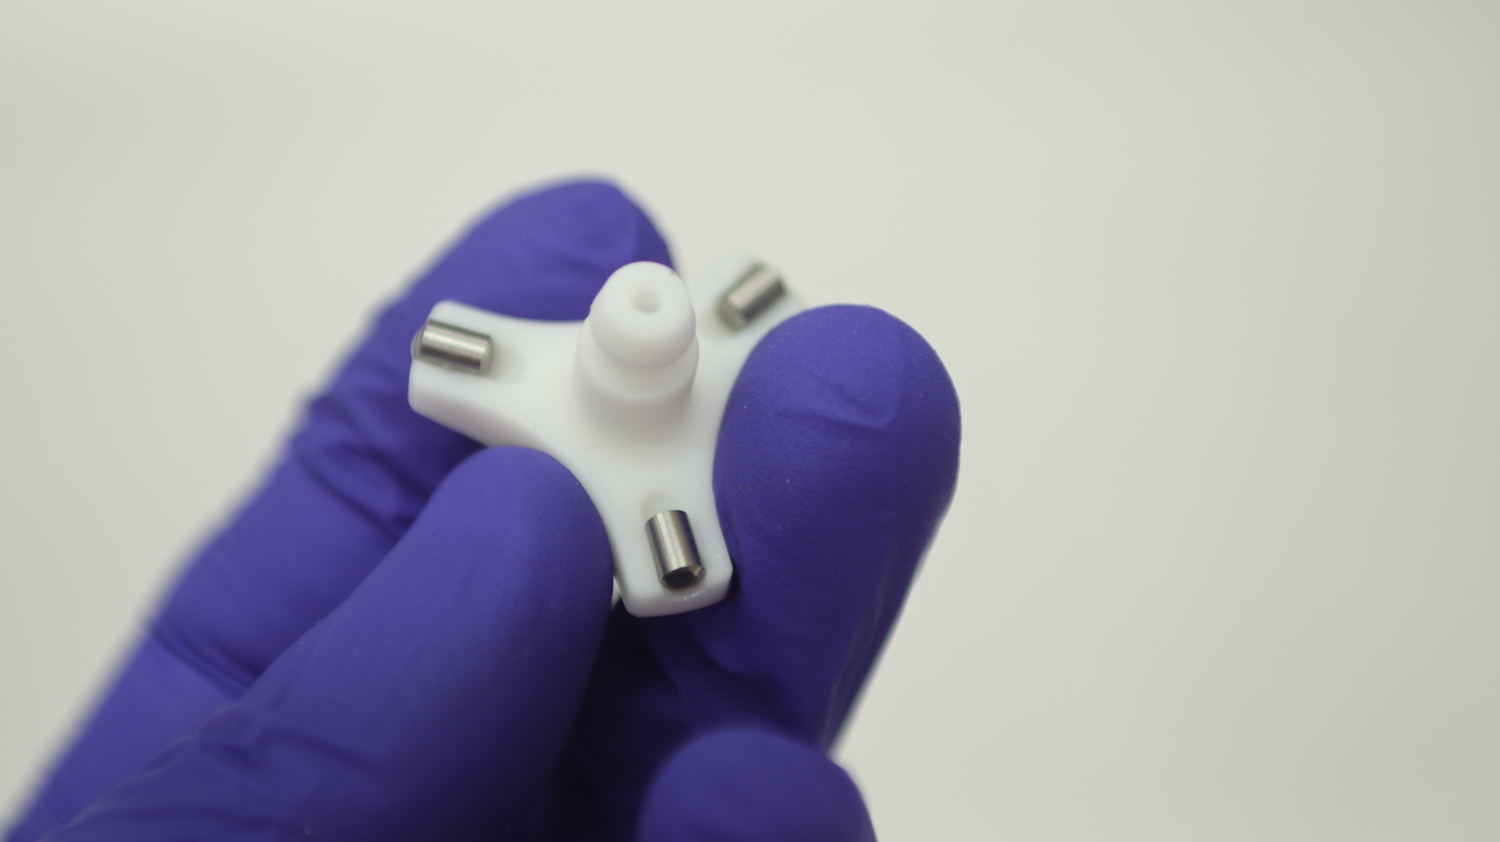
Gently fit the part
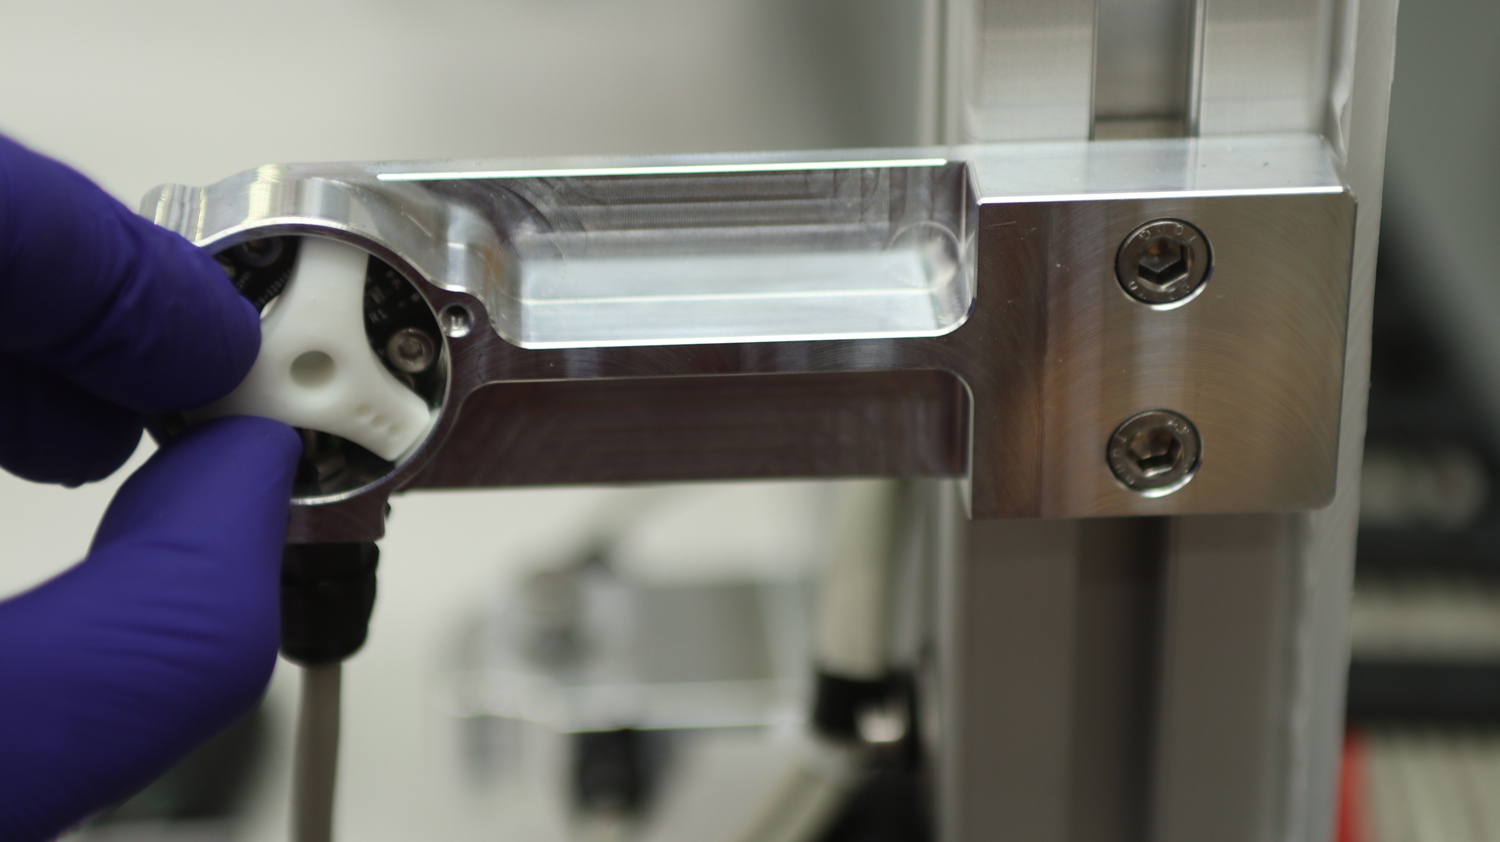
Insert the spring back into its position
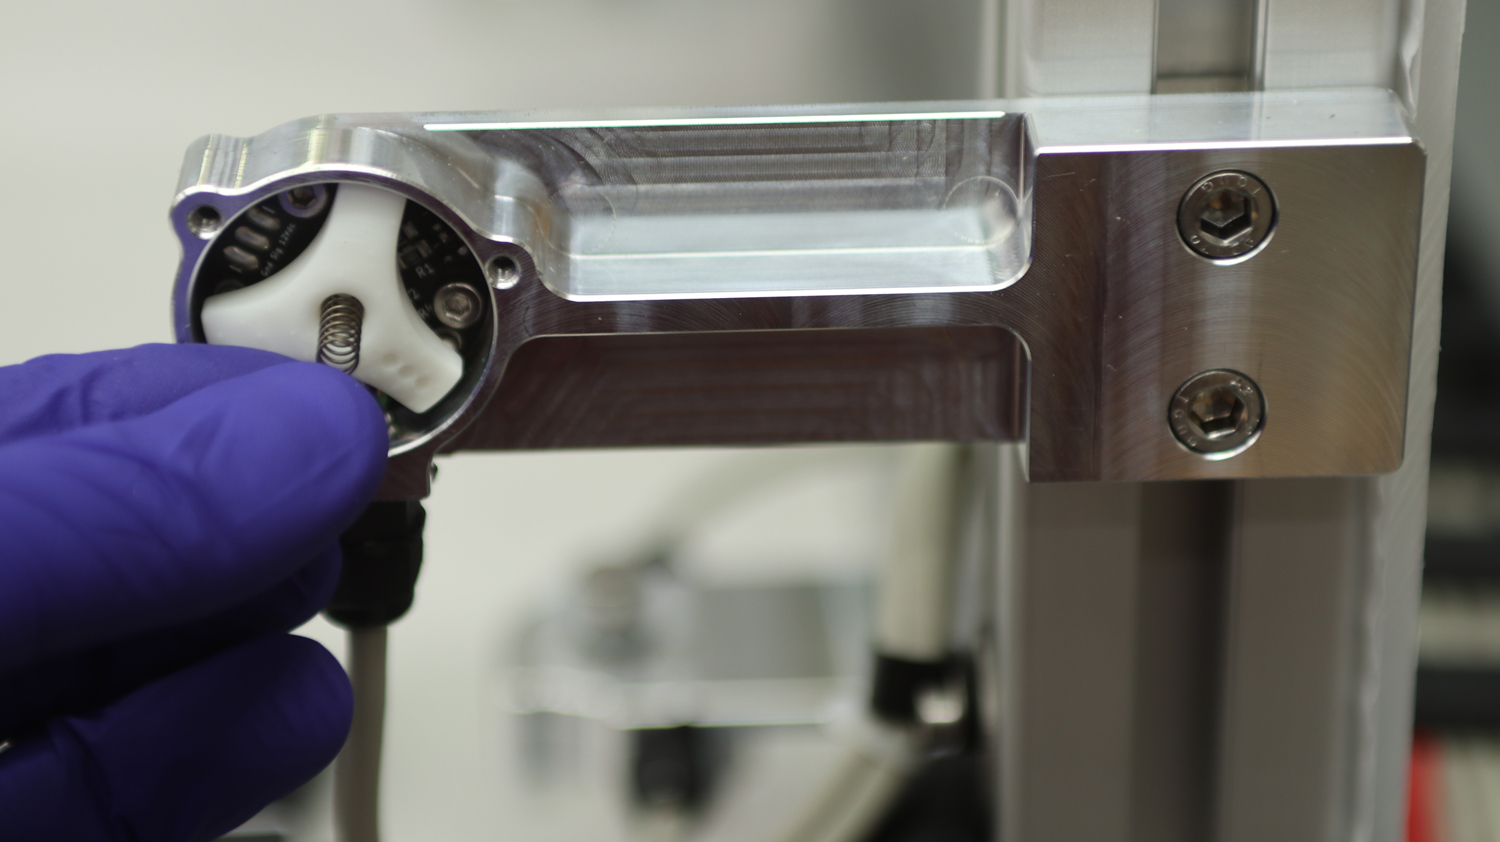
Press with back plate and tighten the M3 bolts
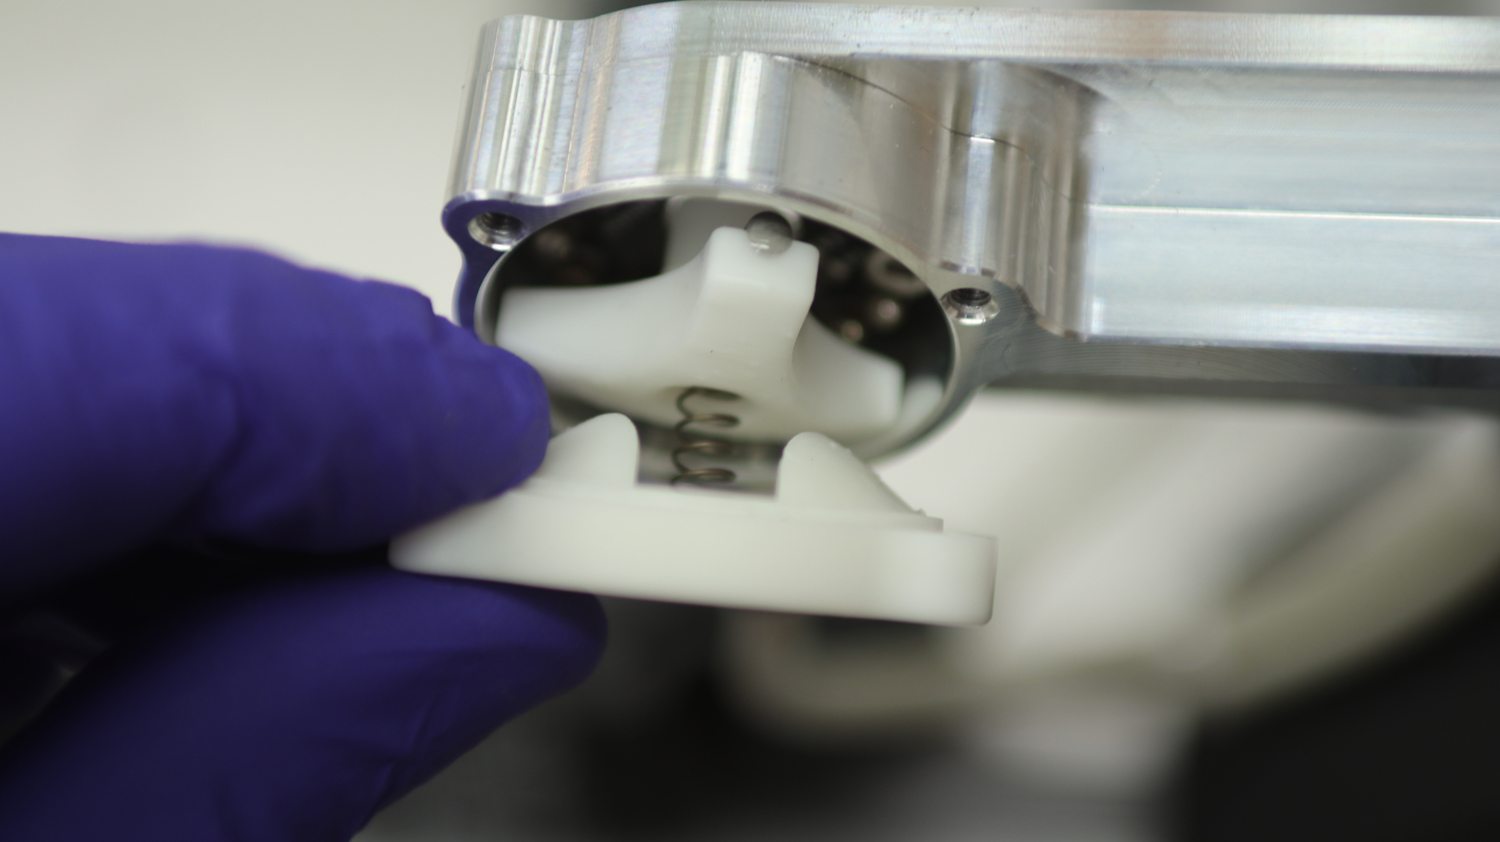
Insert back the probe tip
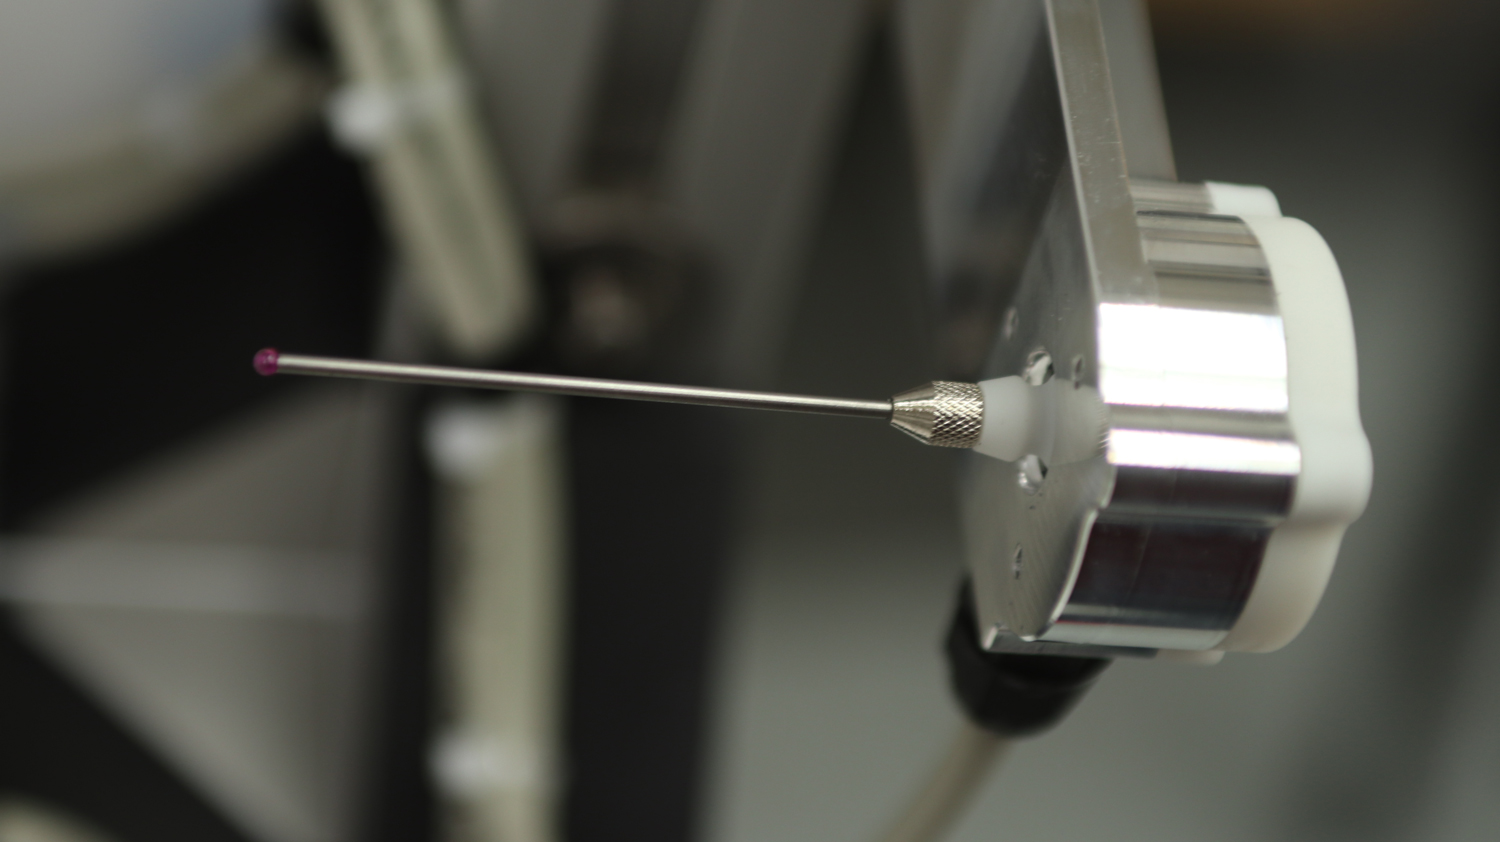
Insert the gasket
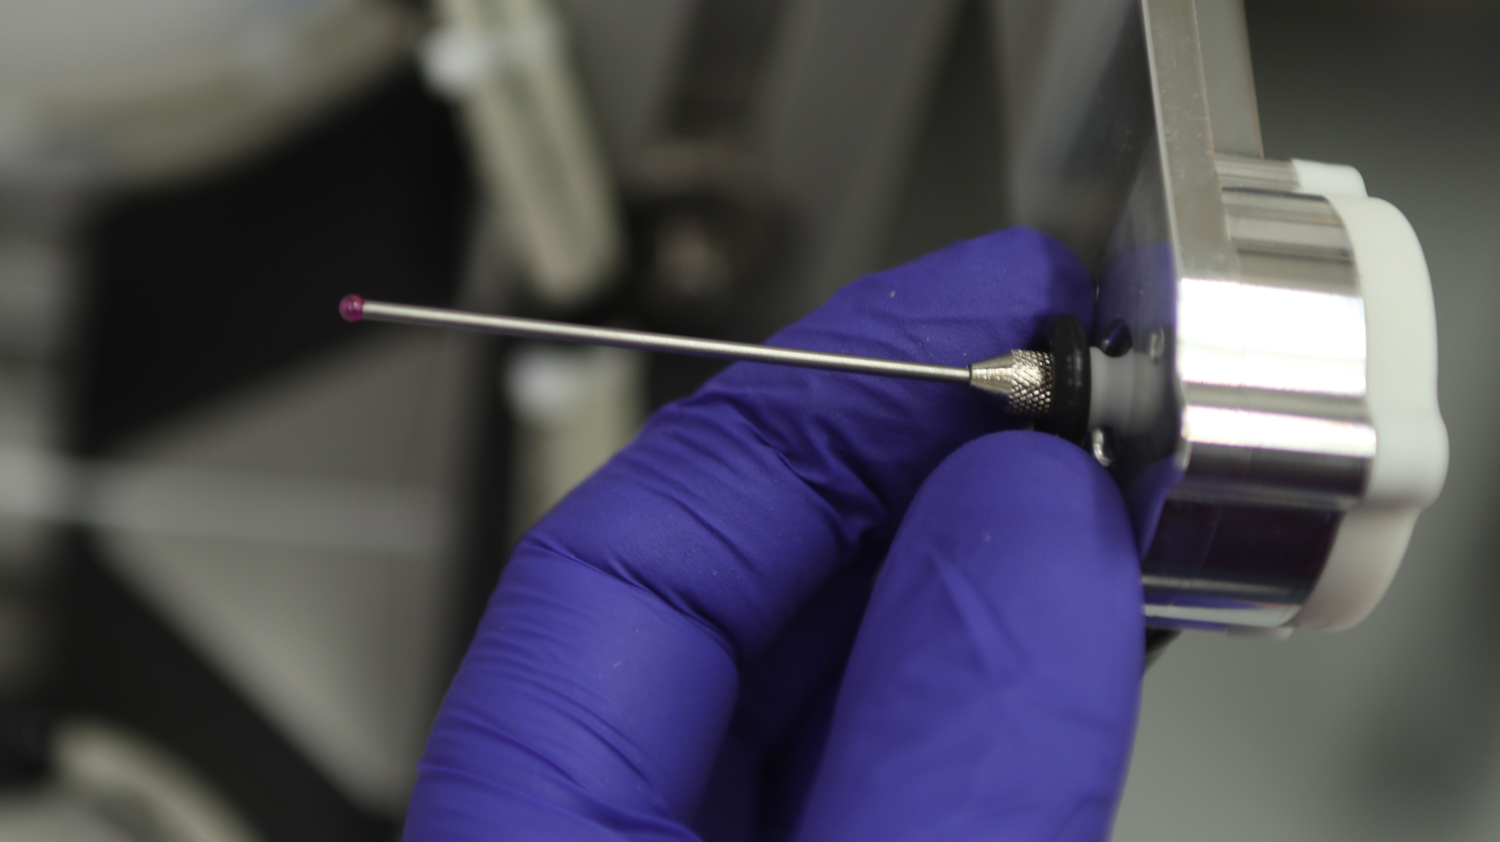
This is how repaired probe should look as per below
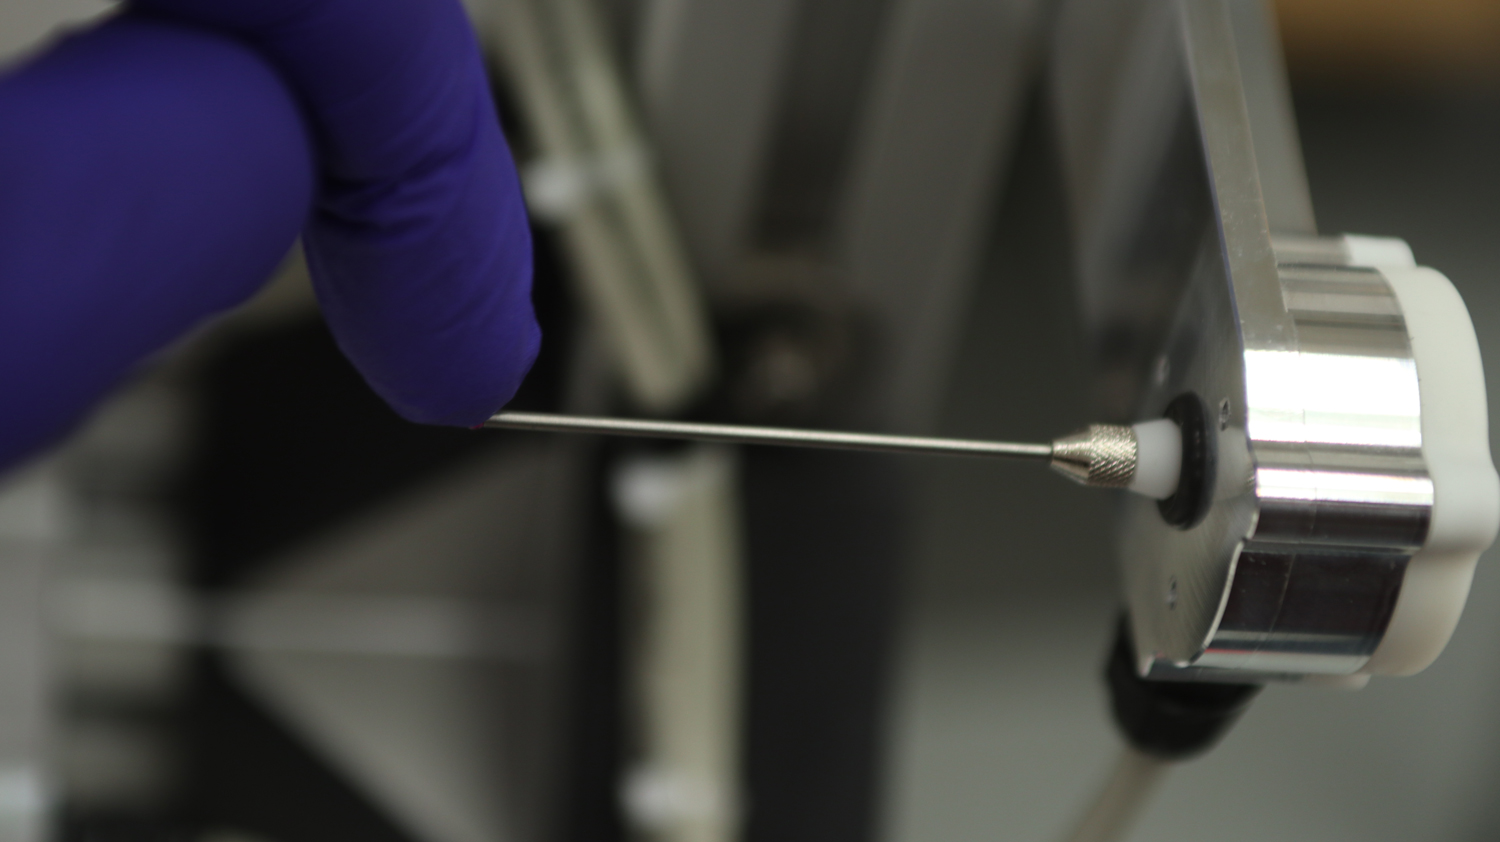
Connect machine back on and open Mach4. With tip of your finger apply gentle pressure on top of the tip of the probe.
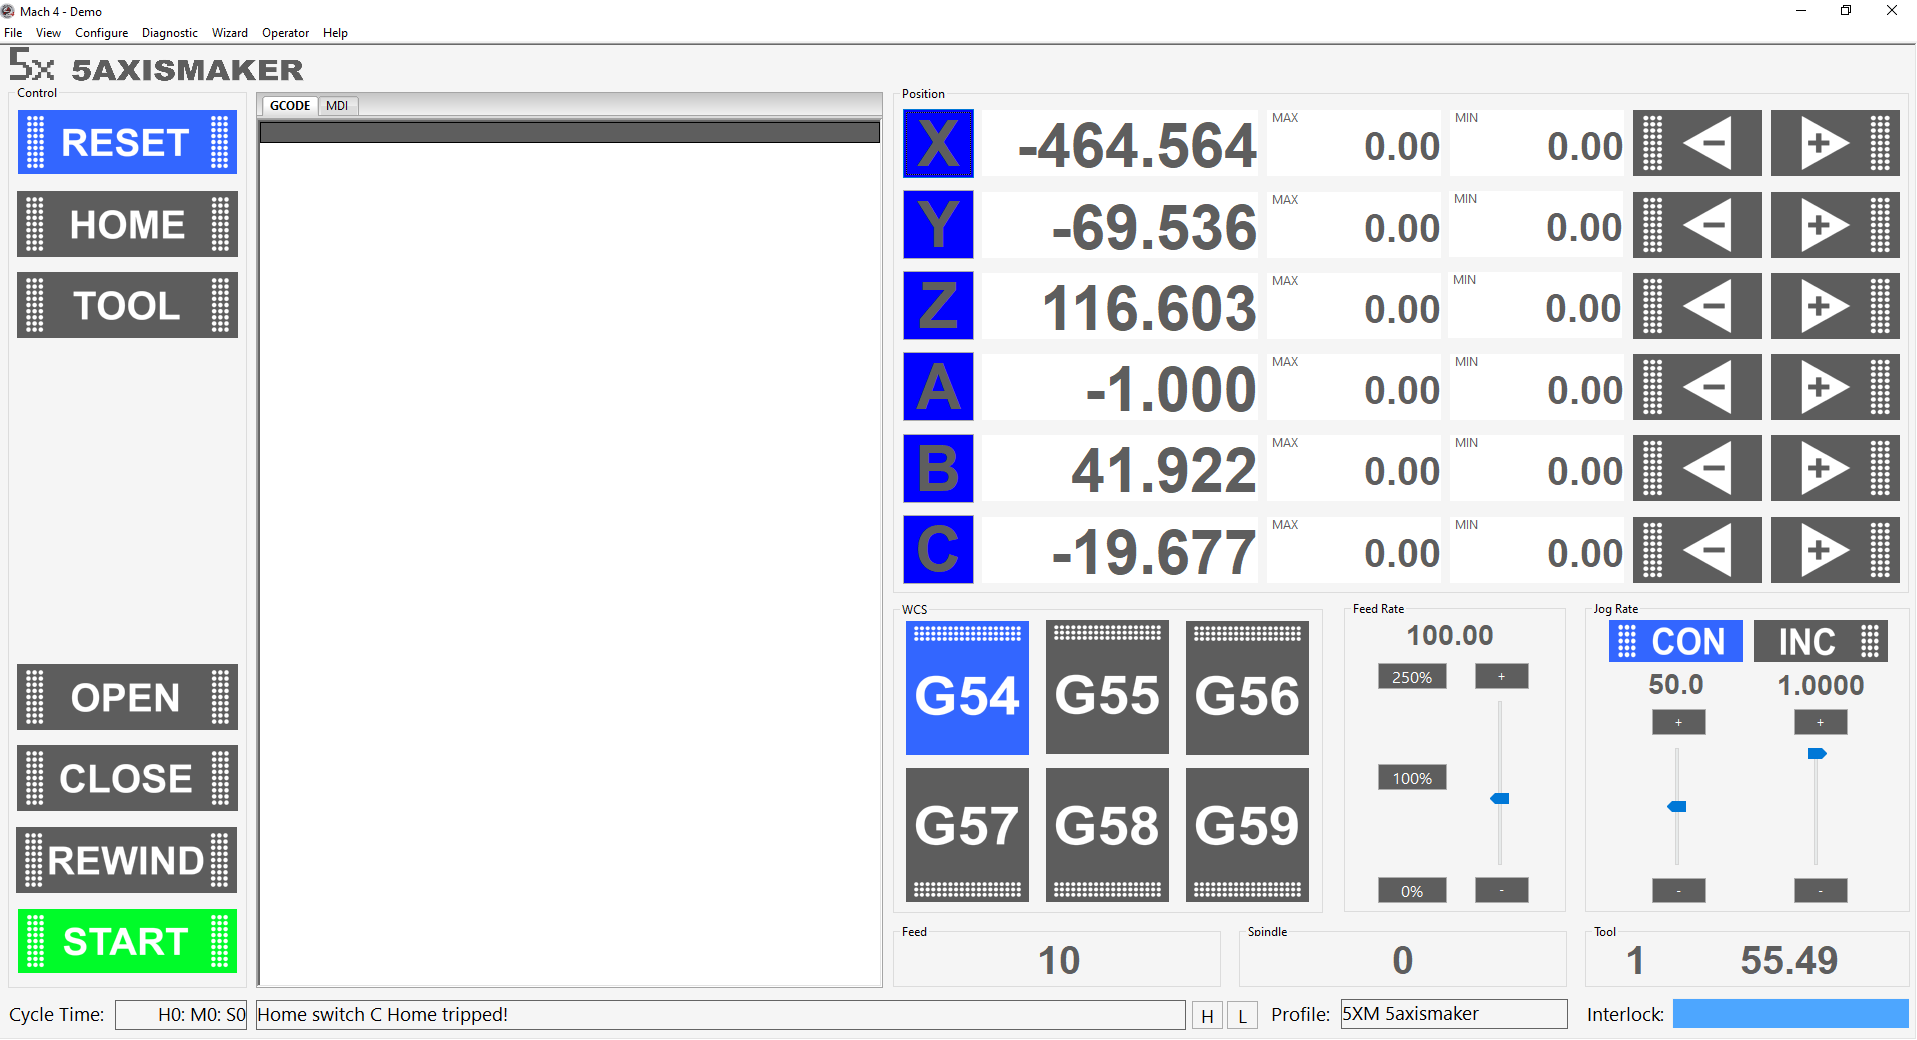
If all ok you should see highlighted windows in Mach4 - this should confirm that the probe is now fixed.
To continue to probe calibration read this article Probe recalibration